It’s taken me ages to get this post out, purely because I love this little café so much that I would rather spend my time eating there than being tortured by the glorious memory of it. That’s before I even have to edit all the photos of their amazing food. Gosh no, it’s just too difficult. Urban Angel Café is my new favourite little hot spot, and it’s less than 3km from home!
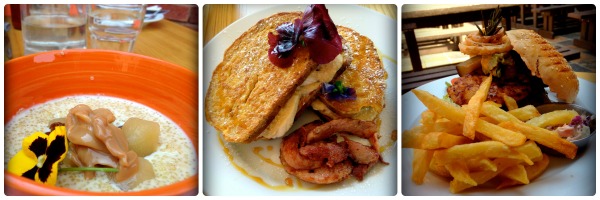
Amazing range of breakfasts and café meals – quinoa with apple and salted caramel, french toast with banana and nut butters (homemade), and hugely delicious chicken prego burgers
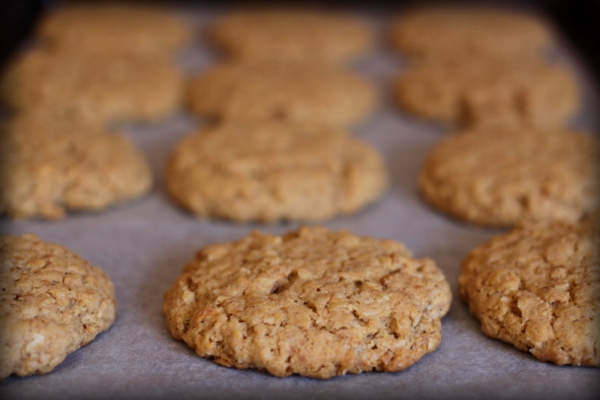
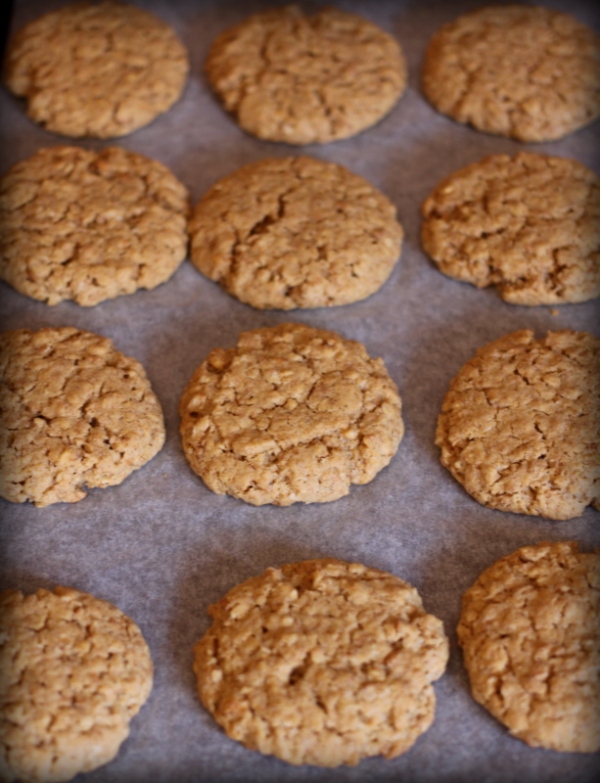
So I’m writing this post in the comfort of their wafts of freshly baked bread, with an unhampered view of their mountain of fresh biscuits, sitting on the counter, whips of steam still practically floating above them.
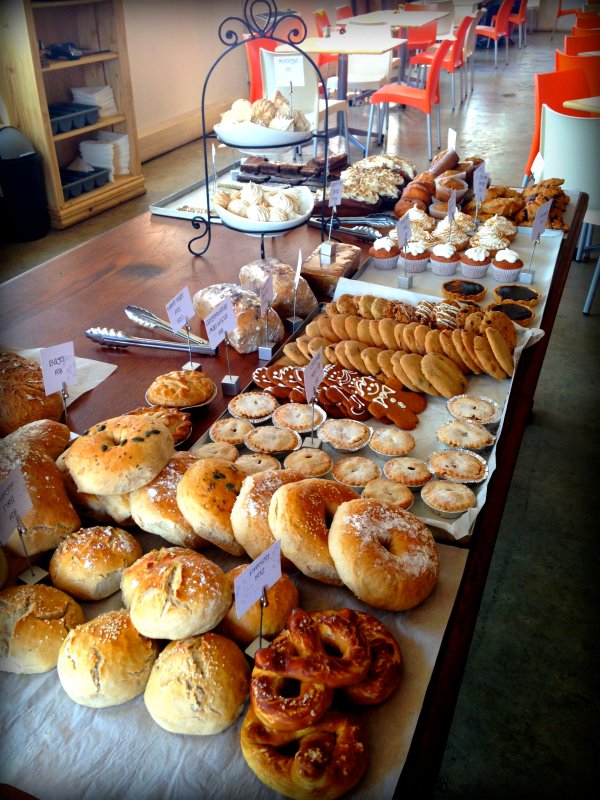
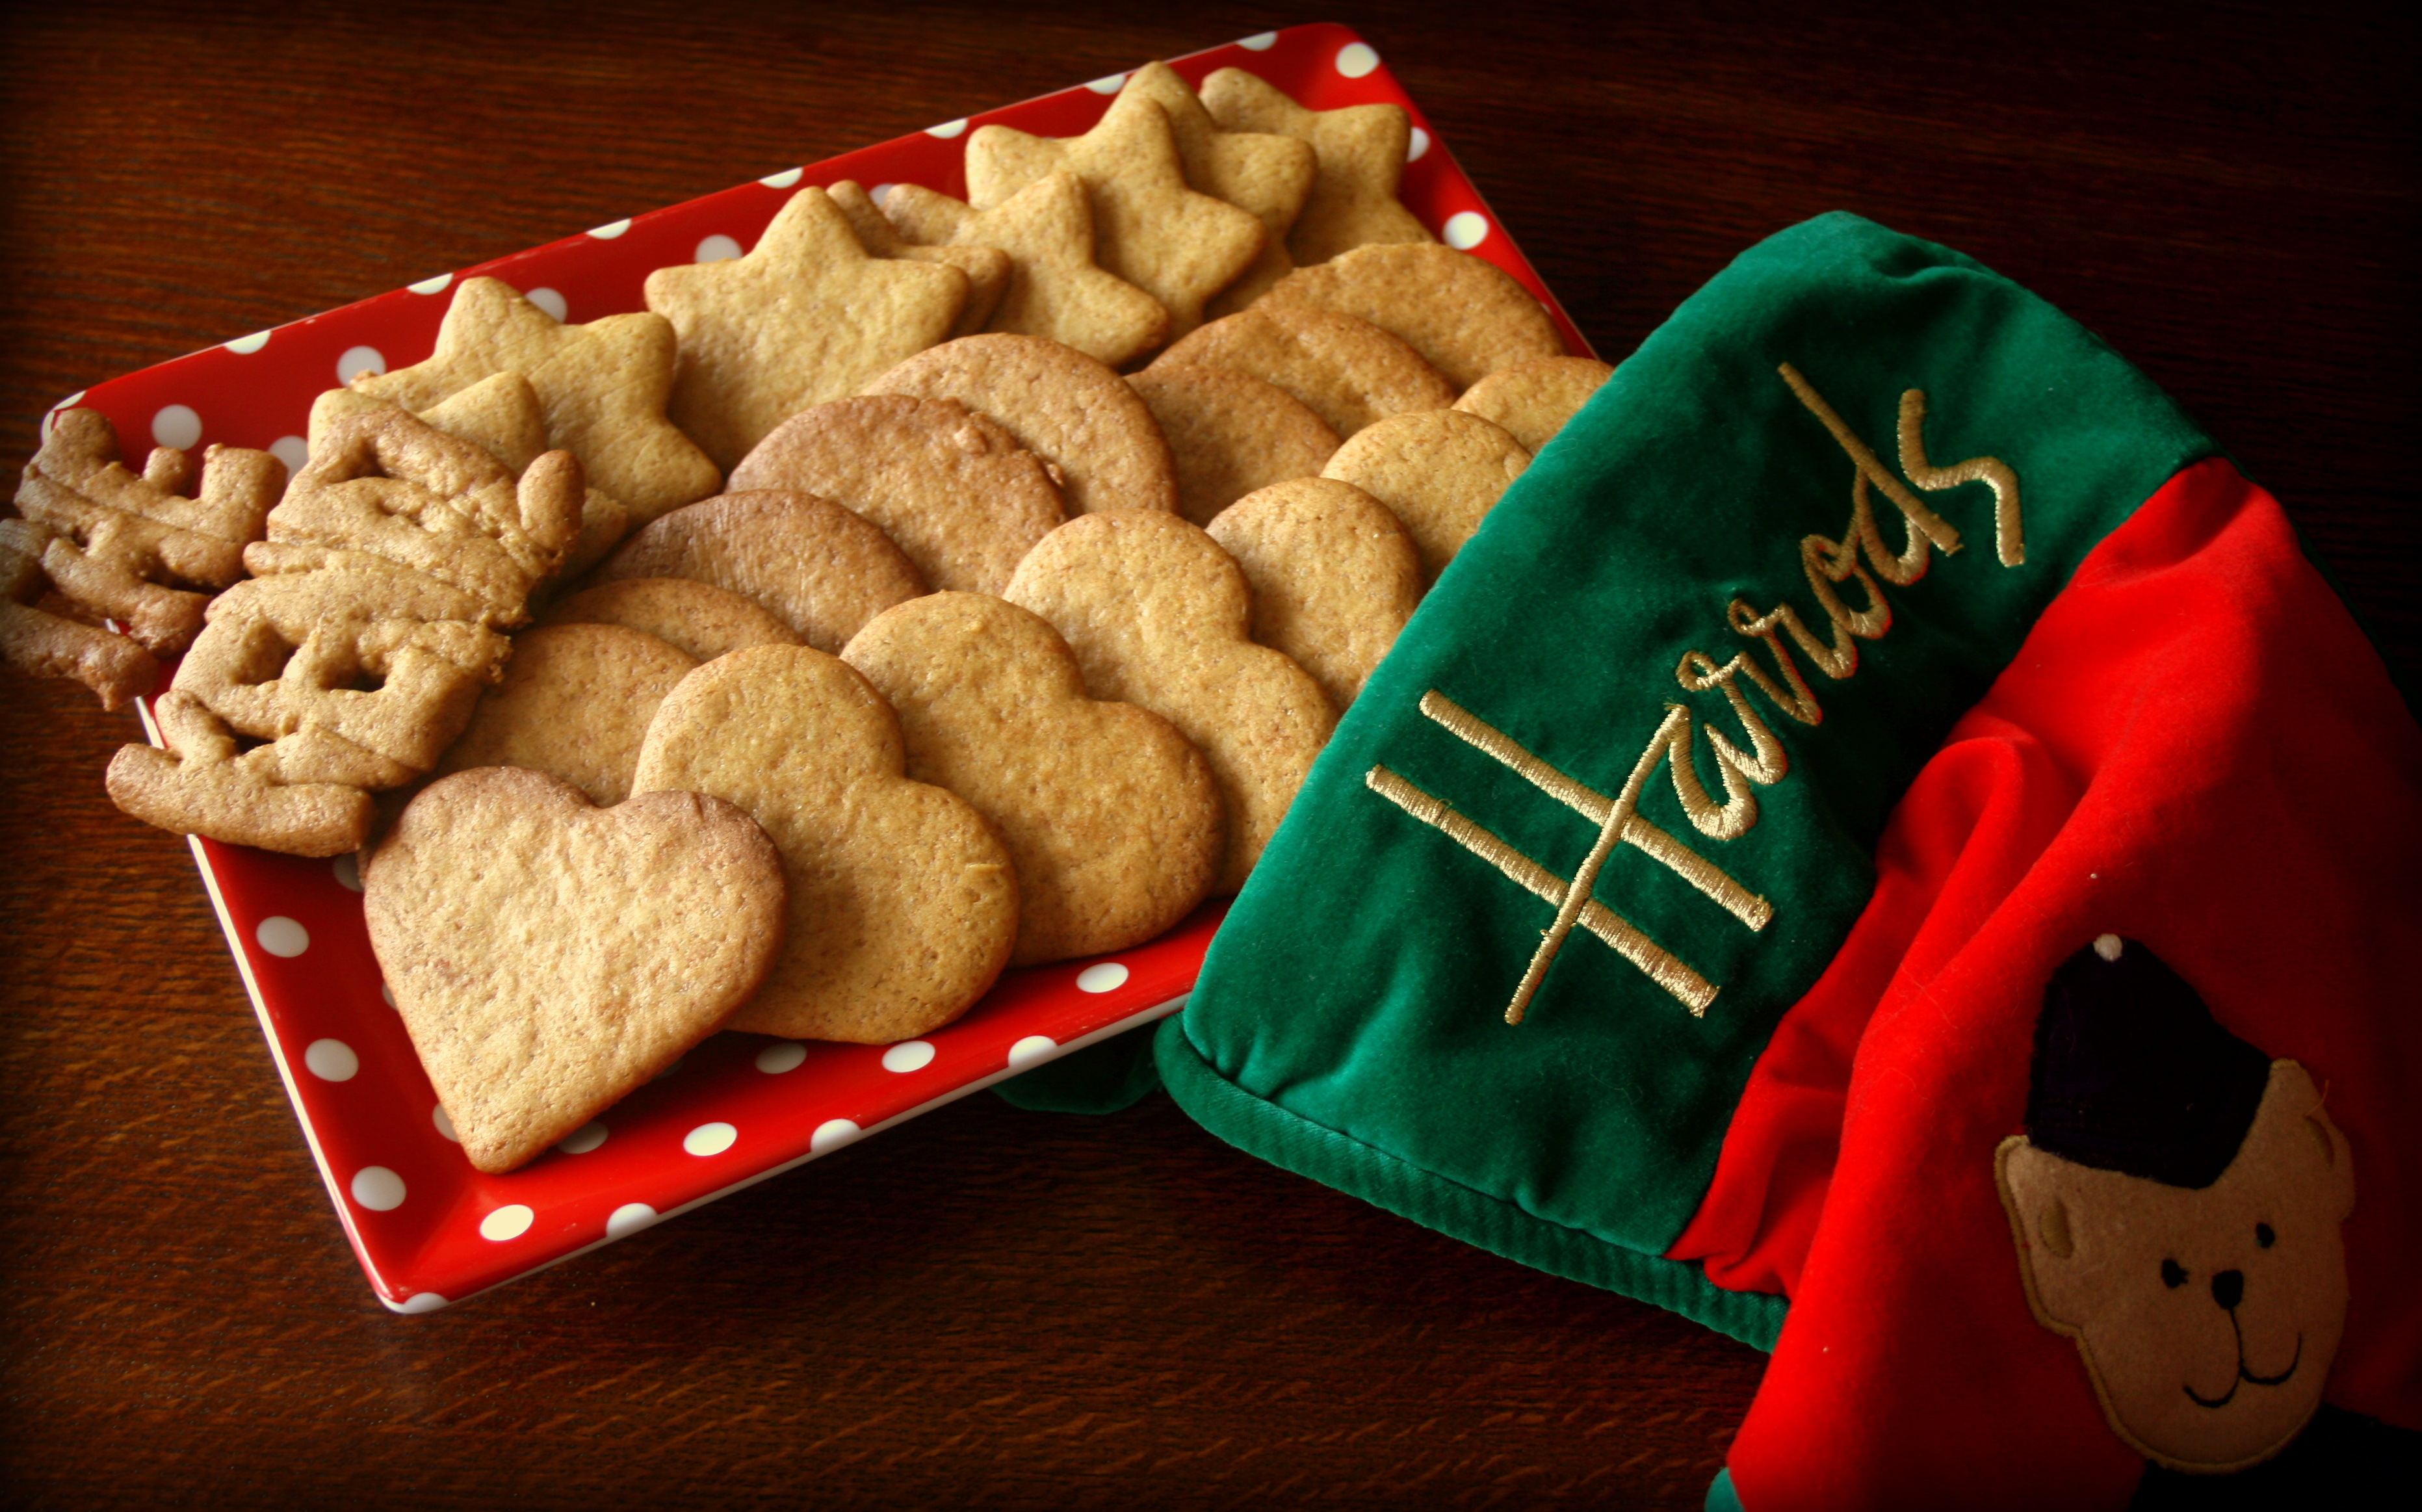
This is my first draw once I walk in the door: every day they have something new and interesting on offer, from bagels and mince pies to protein bars and cheesecake brownies. Cookies and doughnuts and all sorts of different breads keep the meals special on each visit
What I absolutely love about this place, is their modern menu. And I don’t mean modern in a pretentious way, where owners are trying to sell the “next best thing”. I mean they genuinely care about producing meals that taste amazing and happen to have all these amazing new superfoods in them. You can go to Urban Angel café on pretty much any diet, and you will probably find something that suits you – and it’s guaranteed to be delicious.
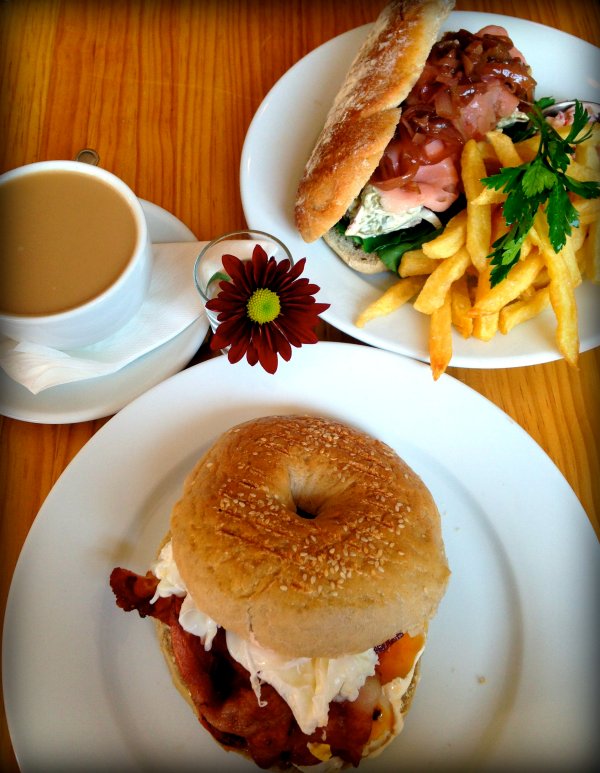
The bagel bun is my go-to breakfast as a protein filled bun of fresh sour dough bread. Their meals are original with everyone’s favourite toppings, like cream cheese! “Eggs done your way” is also one of the awesome things about the café
And if you’re not on a diet, they have these incredible brownies that were recommended to me by everybody – friends and strangers alike – that I tried to resist for so long. I knew that if I gave in, it would be over for me. And it was… My advice: stay away from the brownies if you value your waistline.
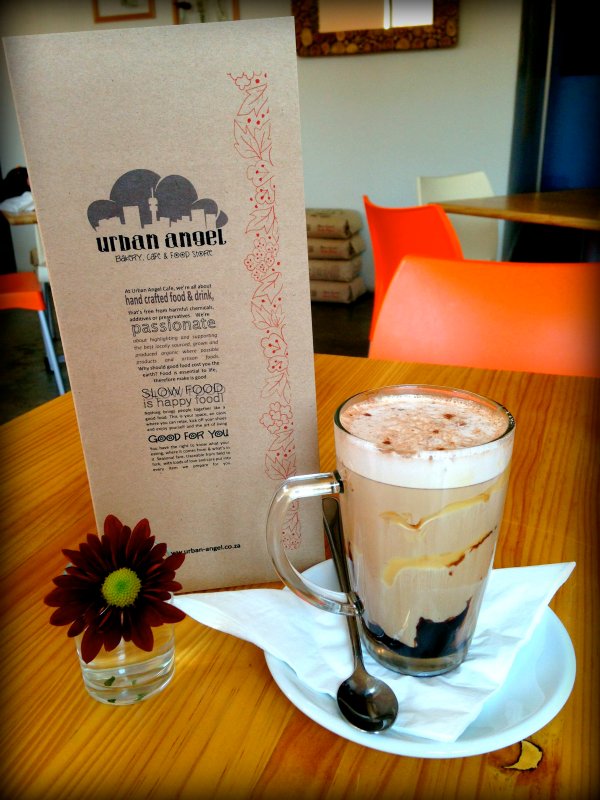
Sweet and salty mocha with a swirl of caramel. Literally best drink ever!
For the most part, their creativity is pretty spot-on. My first experience of their food wasn’t that great though. I ordered a peanut butter espresso milkshake and was highly disappointed to find it was made with homemade nut butter, a combination of peanut and cashew. In the end it just tasted like very milky coffee with chunks of nuts. But hey, that’s what happens when you try to be too healthy, it doesn’t always work out. Pretty good otherwise!
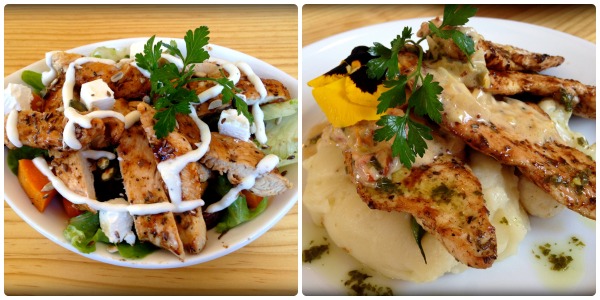
Their meals are reasonably priced and really generous, full of healthy goodness! Grilled chicken with beautifully flavoured sides – their mash was some of the best I’ve ever had!
Their service is great as well, always extremely friendly.
Urban Angel Café: Bakery, Café and Food Store can be found just behind the shopping centre in the office park (President Fouche Drive And Hawken Avenue, Randburg, Johannesburg). It’s a bit difficult to find, but I guess that way it can be a little piece of hidden gold until everyone learns about its magnificence.